Decorate Those Eggs!
Decorate Those Eggs!
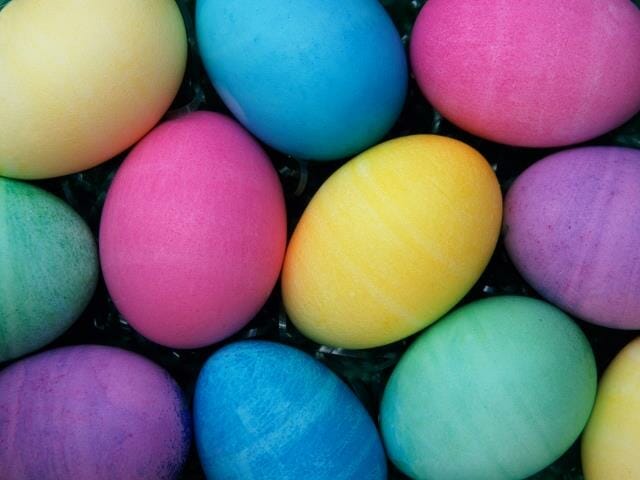
 Spring is in the air and that makes us very happy. Warmer weather means longer evenings, backyard barbeques and holidays that can be enjoyed outside. One of the first holidays on our radar is Easter, and with it comes egg decorating. Even if you don’t celebrate Easter, eggs are traditionally symbolic of the spring season. Since ancient times, eggs have been dyed and decorated in honor of the rebirth of nature (unless of course you planted annuals!) Dying and decorating eggs used to be a pretty basic process, but today you’ll find that it’s hard to choose just how you want to decorate your egg. Luckily, a dozen eggs aren’t that expensive so feel free to go wild with color schemes and techniques. We would tell you that now is the time to roll your sleeves up, but hopefully you’ve put all your sweaters in storage!
Let’s start with the basics. To apply a simple one color dye to your egg, you’ll need only a few ingredients. These include: eggs, a bowl deep enough to fully submerge the entire egg, a slotted spoon or tongs, 1/2 cup boiling water, 1 tsp white vinegar, and liquid food coloring of your choice.
1. Hard boil your eggs and let cool.
2. Fill the bowl with water, white vinegar, and food coloring.
3. Dunk your egg in the bowl until it begins to accept the color. If you want your egg to be darker, continue to dunk it into the mixture until the desired hue is reached.
4. When you’re happy with the color, set the egg onto a paper towel to dry completely.
Needless to say, dying eggs is a pretty simple process, but as we mentioned before, the process has come a long way. So if you’re ready to get a little creative this spring, we’ve got a few ideas hiding up our short sleeves.
Marbled Eggs
This technique involves many of the same ingredients that traditional dying uses, but add vegetable oil and replace food coloring with Kool-Aid. All you need to do is empty the packet of Kool-Aid into a bowl of water/vinegar mixture and then add a tablespoon of vegetable oil. Place your egg into the bowl and let it sit. The oil will condense in certain spots on the eggs, giving a swirled effect to the dye job.
Bingo Eggs
To make these eggs, you’ll need to find 1 inch number stickers. Use the ingredients in the basic dying process. When creating the numbers, you have two options. You can either place the stickers onto the eggs before placing them in the dye OR you can add the stickers after the eggs have been dyed. Either way, it’s a creative take on bingo and gives you a themed party game idea.
If you’re looking for additional egg dying techniques, just head to Pinterest for many other ideas. All of them get our two multi-colored thumbs up!
Receive your complimentary Relocation guide and magazine


